Flight Simulator X Shader Mods
March 27, 2020 code
Overview
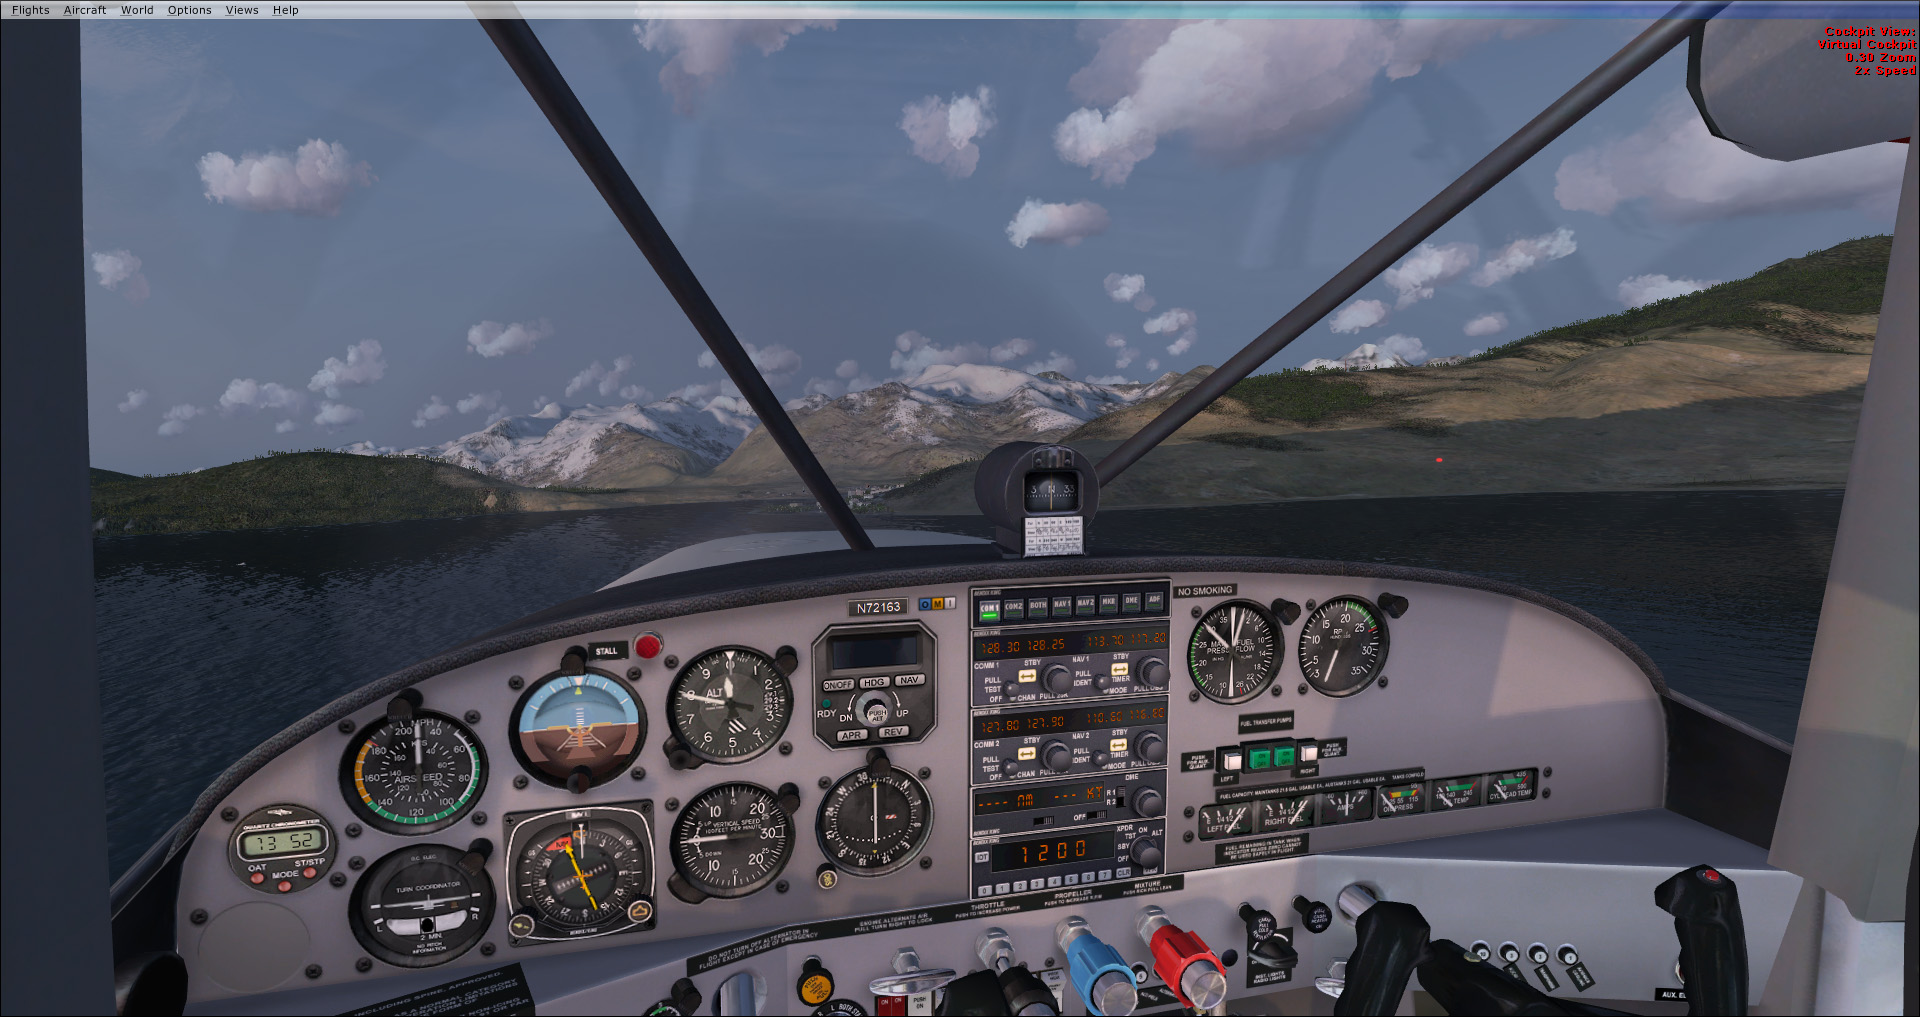
Needless to say, the gameplay footage of Microsoft’s upcoming Flight Simulator had me itching to get back into flight simulation. I couldn’t wait, so I dusted off my original copy of FSX and installed it on my modern PC. It was a little… anti-climactic. Aside from the major performance/graphics issues (easily fixed with service packs and Steve’s DX10 Fixer mod) it still felt outdated and, even on the sunniest days, pretty bleak. I installed some popular mods (listed below) to enhance the scenery and lighting effects, but overall it still felt too dark and desaturated.
After several hours of trying (and failing) to get Reshade + SweetFX working, and hesitant to install the popular FSX Water Configurator mod, I decided to dig into the FSX program files to see if there was another way.
What I wanted to achieve was simple: overall brighter and more vibrant colors, and more realistic water. I have a good amount of programming experience, and a little bit of experience with shaders, so when I saw the “ShadersHLSL” directory there was a glimmer of hope. Sure enough, it turns out that achieving any of the basic color enhancements available in Reshade + SweetFX is possible by modifying these files. On top of that, these files give you complete control over the appearance of water.
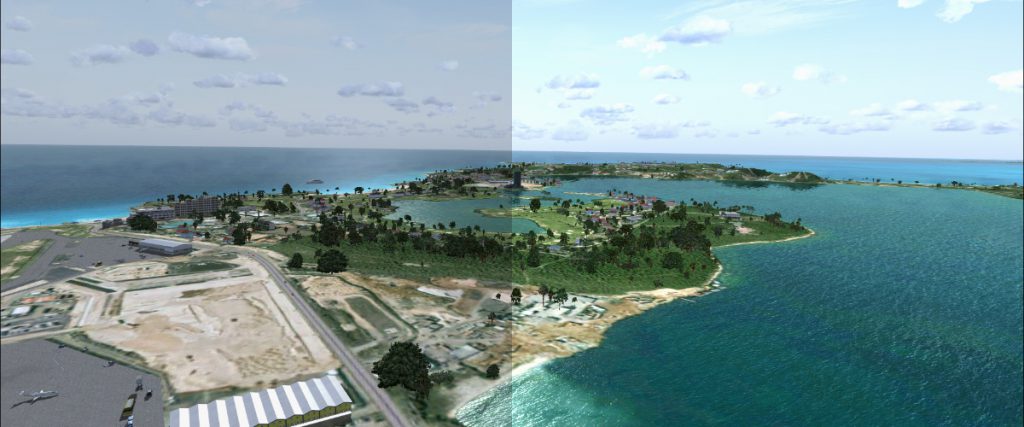
Brightness, Contrast and Saturation
To adjust the color of the overall image, you need a fragment shader that’s applied to the final composite image. After a lot of trial and error, I decided that the HdrBlend.psh shader was my best bet. As far as I can tell, this shader simply adds bloom to the final composite image by blending the composite image with the bloom image using additive blending. It’s definitely a “janky” solution, as you have to have the Bloom setting enabled in order for this shader to have any effect, but it was the only shader I could find that modified every pixel in the composite image.
Brightness & Contrast
A cheap way to adjust the brightness and contrast of the image is to simply multiply the RGB component of the color by a value of 1.0 or greater. To ensure the resulting value doesn’t exceed an acceptable value, use the saturate() function. I chose a value of 1.25 and added the following code just below float4 color = colorTex.Load(iColorCoord);
color.rgb = saturate( (color.rgb*1.25) );
You can tweak the 1.25 value to increase/decrease overall brightness/contrast.
Saturation
To increase the overall saturation of the image, you need to convert the “base color” from RGB to HSV, adjust the saturation, and then convert it back to RGB. To do this, I added the following two functions just below #include “Quad.sh”
float3 HSVtoRGB(float3 HSV)
 {
     float3 RGB = 0;
     float C = HSV.z * HSV.y;
     float H = HSV.x * 6;
     float X = C * (1 - abs(fmod(H, 2) - 1));
     if (HSV.y != 0)
     {
         float I = floor(H);
         if (I == 0) { RGB = float3(C, X, 0); }
         else if (I == 1) { RGB = float3(X, C, 0); }
         else if (I == 2) { RGB = float3(0, C, X); }
         else if (I == 3) { RGB = float3(0, X, C); }
         else if (I == 4) { RGB = float3(X, 0, C); }
         else { RGB = float3(C, 0, X); }
     }
     float M = HSV.z - C;
     return RGB + M;
 }
 float3 RGBtoHSV(float3 RGB)
 {
     float3 HSV = 0;
     float M = min(RGB.r, min(RGB.g, RGB.b));
     HSV.z = max(RGB.r, max(RGB.g, RGB.b));
     float C = HSV.z - M;
     if (C != 0)
     {
         HSV.y = C / HSV.z;
         float3 D = (((HSV.z - RGB) / 6) + (C / 2)) / C;
         if (RGB.r == HSV.z)
             HSV.x = D.b - D.g;
         else if (RGB.g == HSV.z)
             HSV.x = (1.0/3.0) + D.r - D.b;
         else if (RGB.b == HSV.z)
             HSV.x = (2.0/3.0) + D.g - D.r;
         if ( HSV.x < 0.0 ) { HSV.x += 1.0; }         if ( HSV.x > 1.0 ) { HSV.x -= 1.0; }
     }
     return HSV;
 }
For the saturation multiplier I chose a value of 1.2 and added the following code just below the “brightness & contrast” code added in the previous step.
float3 ColorHSV = RGBtoHSV(color.rgb);
ColorHSV.y = min((ColorHSV.y*1.2), 1.0);
color = float4(HSVtoRGB(ColorHSV), color.a);
You can tweak the 1.2 value to increase/decrease overall saturation.
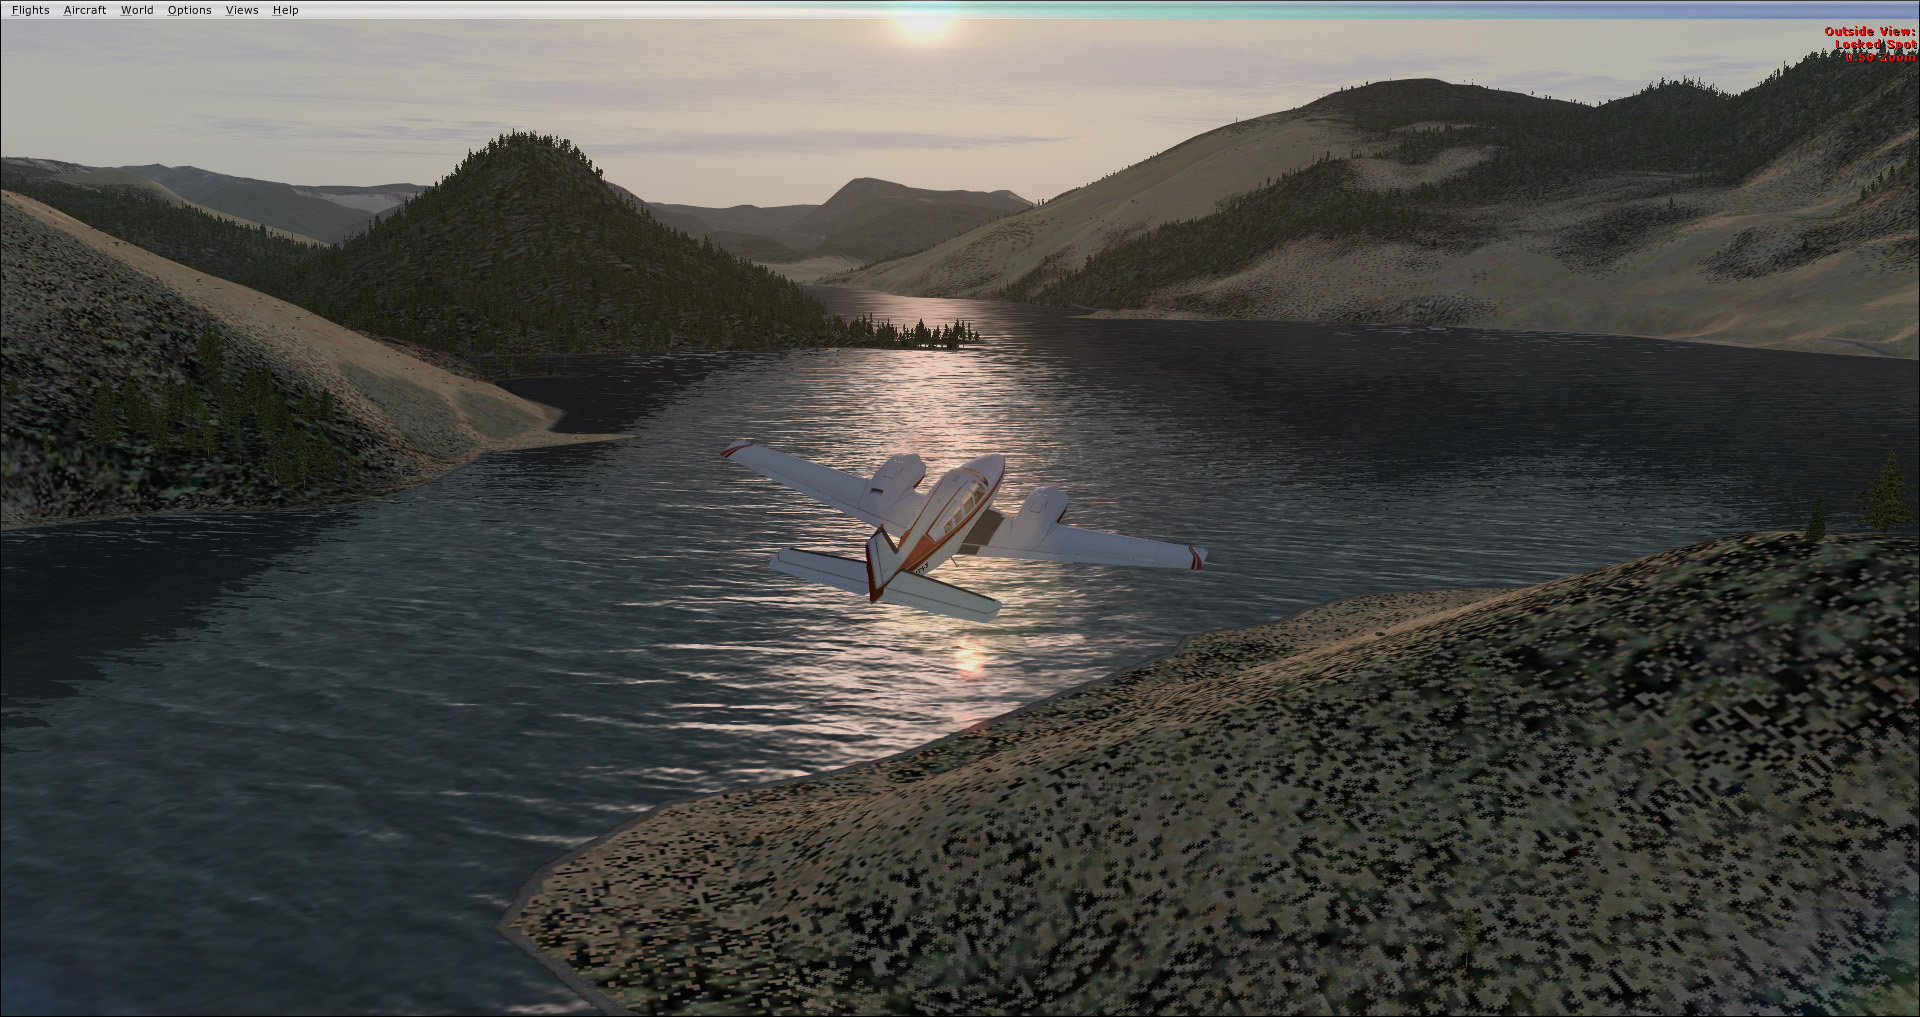
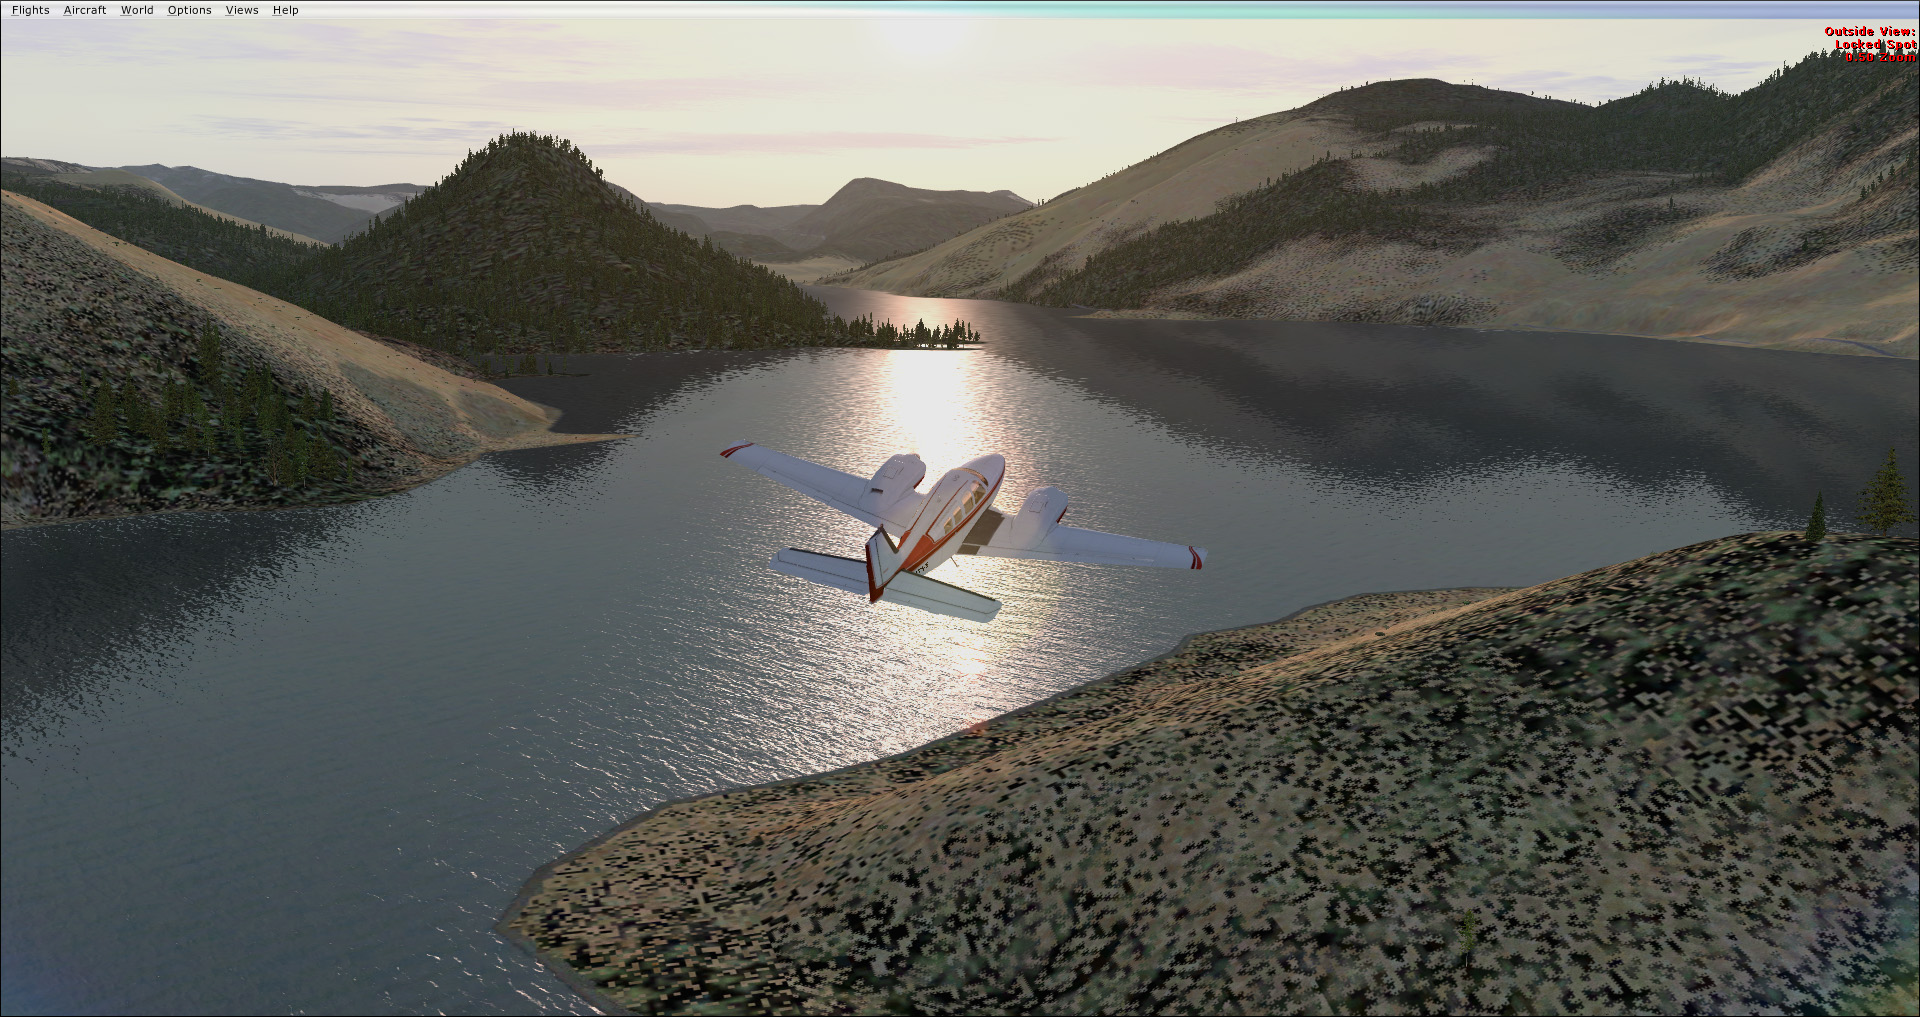
More realistic water
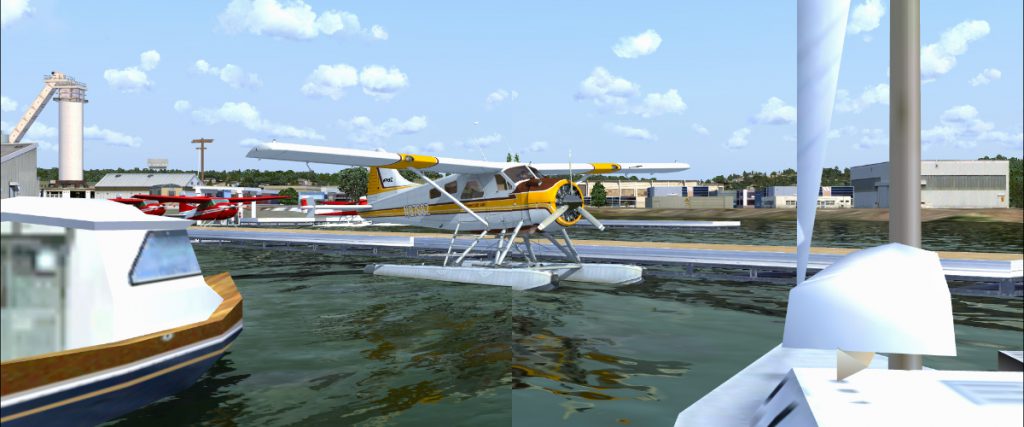
My biggest problem with the default water was that the waves were way too big. My second biggest problem was that they distorted the reflections too much, making even calm waters appear very turbulent. Fortunately, all of these settings can be tweaked in the shaders.
With the water quality setting set to max, FSX will use the ~/Terrain/Water40.fx shader. Here, I changed the UVScale multiplier to 0.0025
bmp = fmod((WorldPos.xz - g_mWorld[3].xz) * (UVScale * 0.0025f),256.0f);
In order to decrease the amount of distortion, I multiplied the BumpDetail by 0.01
Bump = normalize( float4(Bump.xy + (DetailBumpBlendBumpDetail0.01).xy, Bump.z, 0) );
Again, these values can be tweaked to your liking.
Prerequisites
Why? Because FSX loads different shaders depending on the DirectX version and the graphics settings.
- Steve’s DX10 Fixer
- DX10 preview enabled
- Bloom setting enabled
- Water quality set to 2.x
Optional mods used in my screenshots:
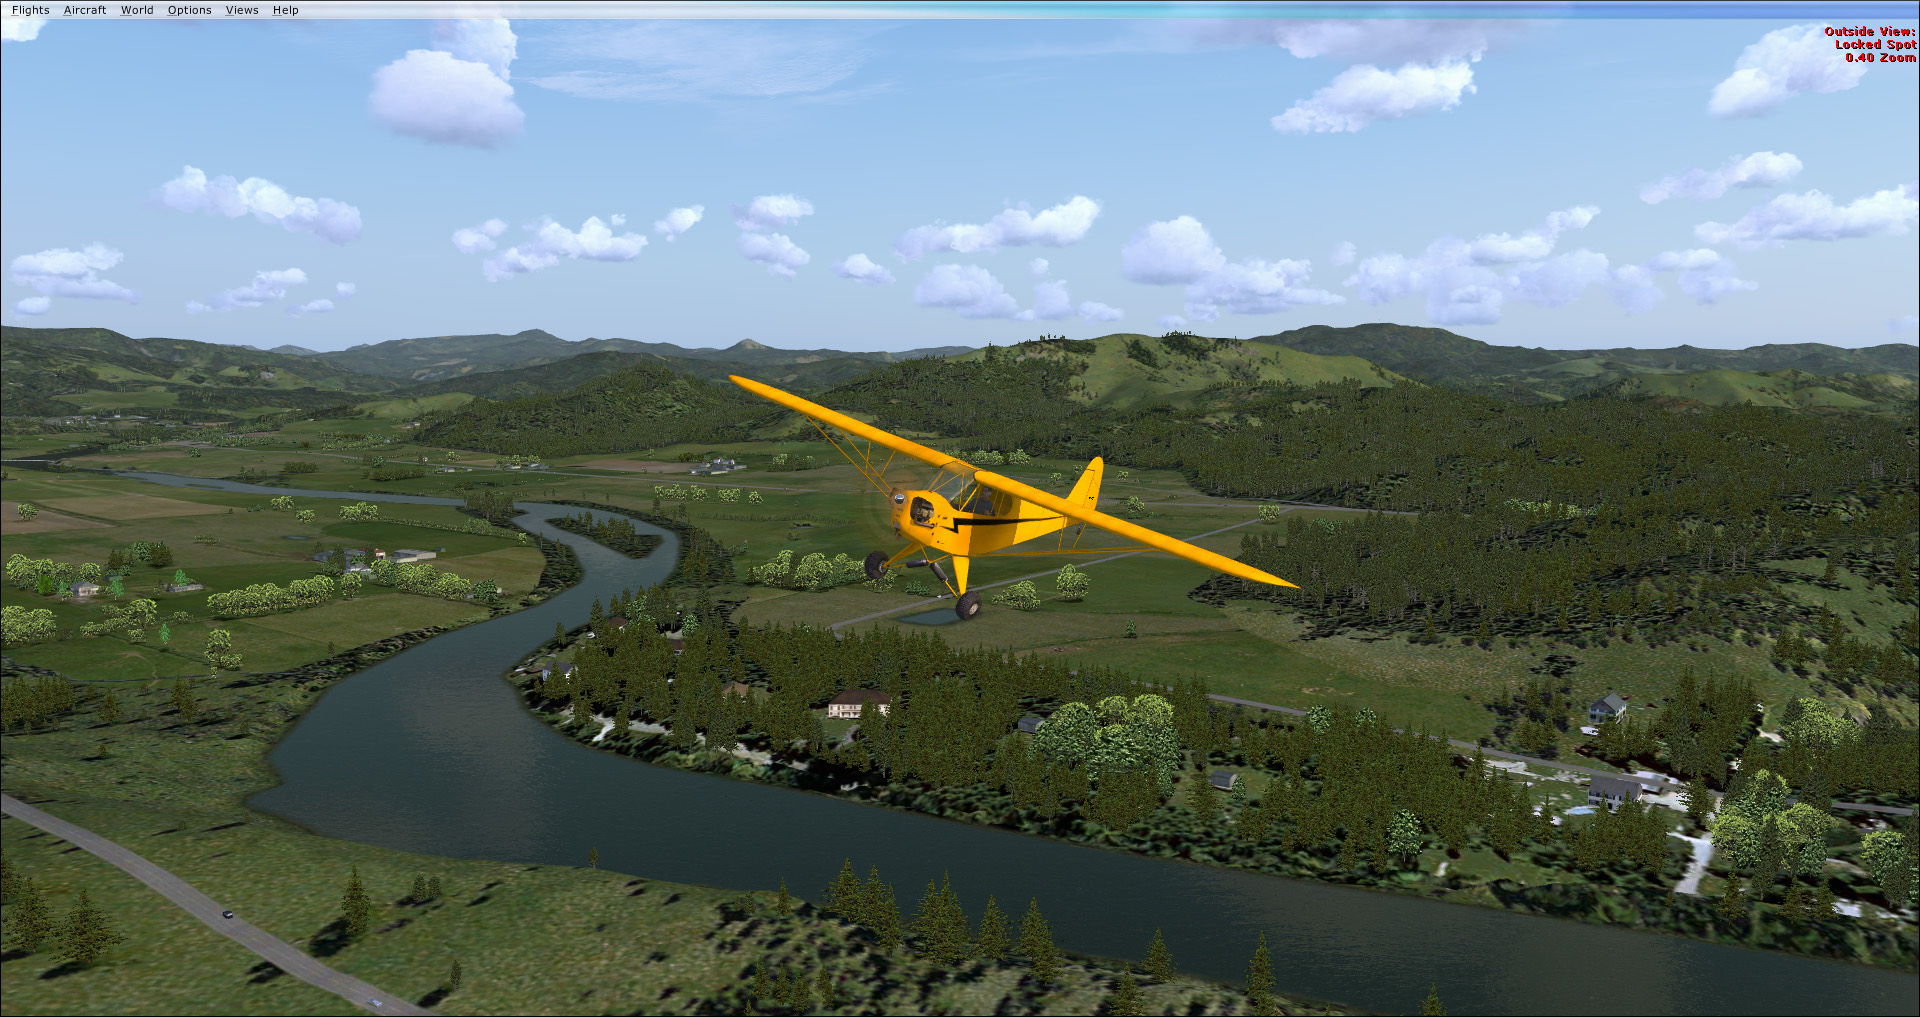
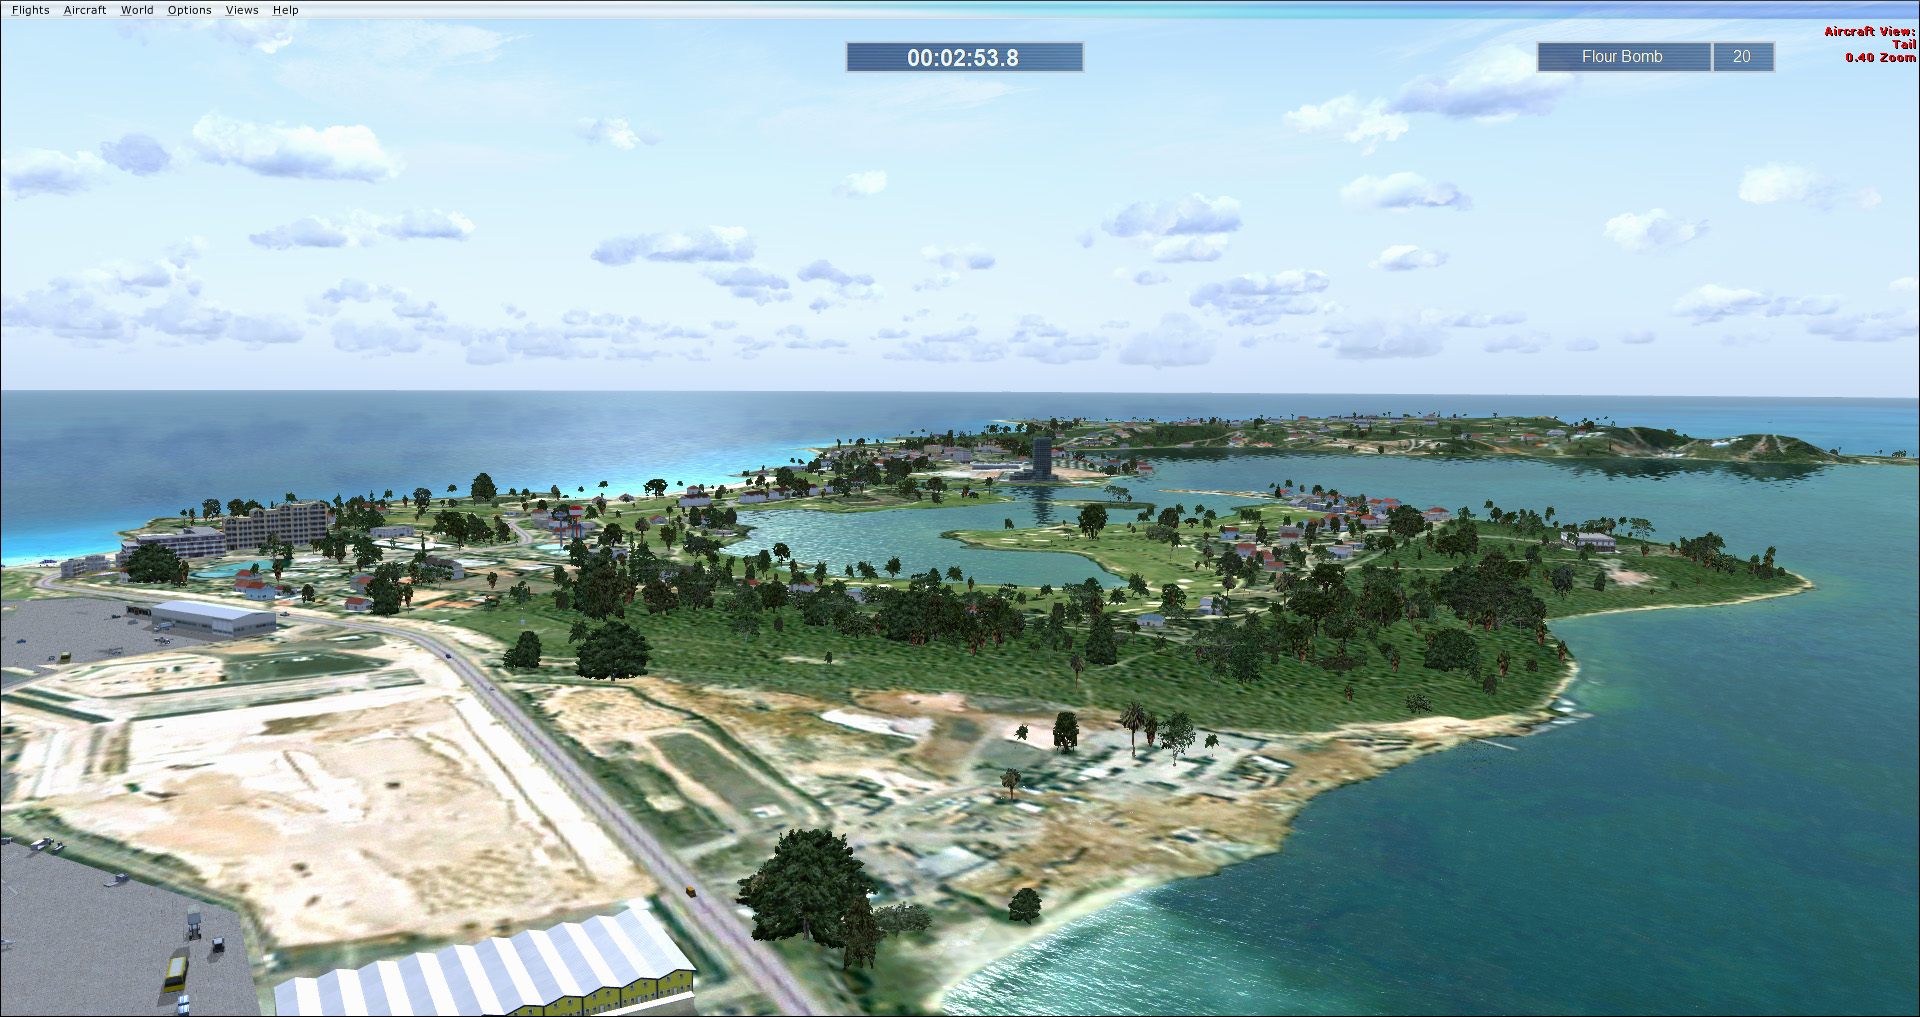
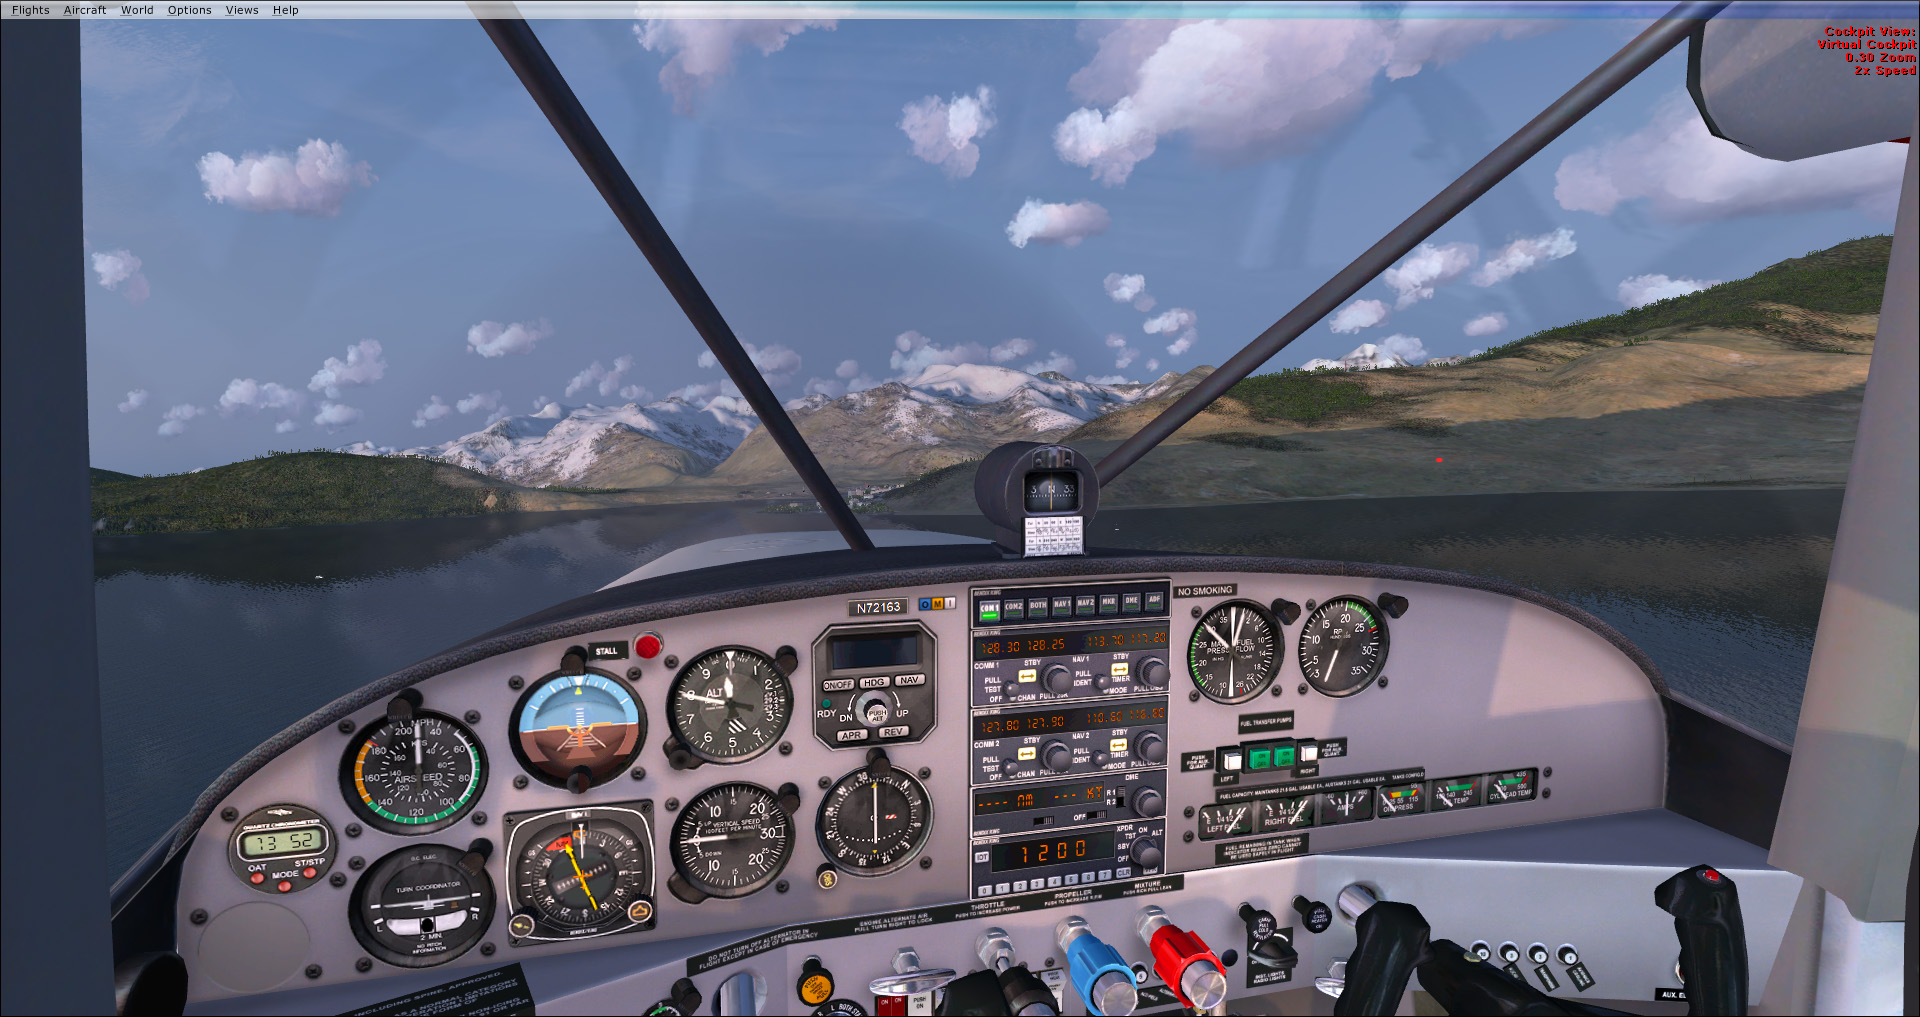
Results